
Brand the client portal
For owners and admins. Set the portal name, logo, colors, and support contact.
Applies to Owner Admin
Branding is the name, logo, and colors your clients see on the portal, including the sign-in page. A custom hostname is a separate step. See Verify a portal hostname.
The shared brand for every customer is under Defaults for all customers. One customer’s override is on that customer’s Branding & domain tab. The custom domain list is organization-wide, so a single customer’s tab does not list hostnames.
Set the brand#
- Open Client Portal Admin.
- For every customer, open Defaults for all customers, then Branding & domain. For one customer, open Customers, the customer, then Branding & domain.
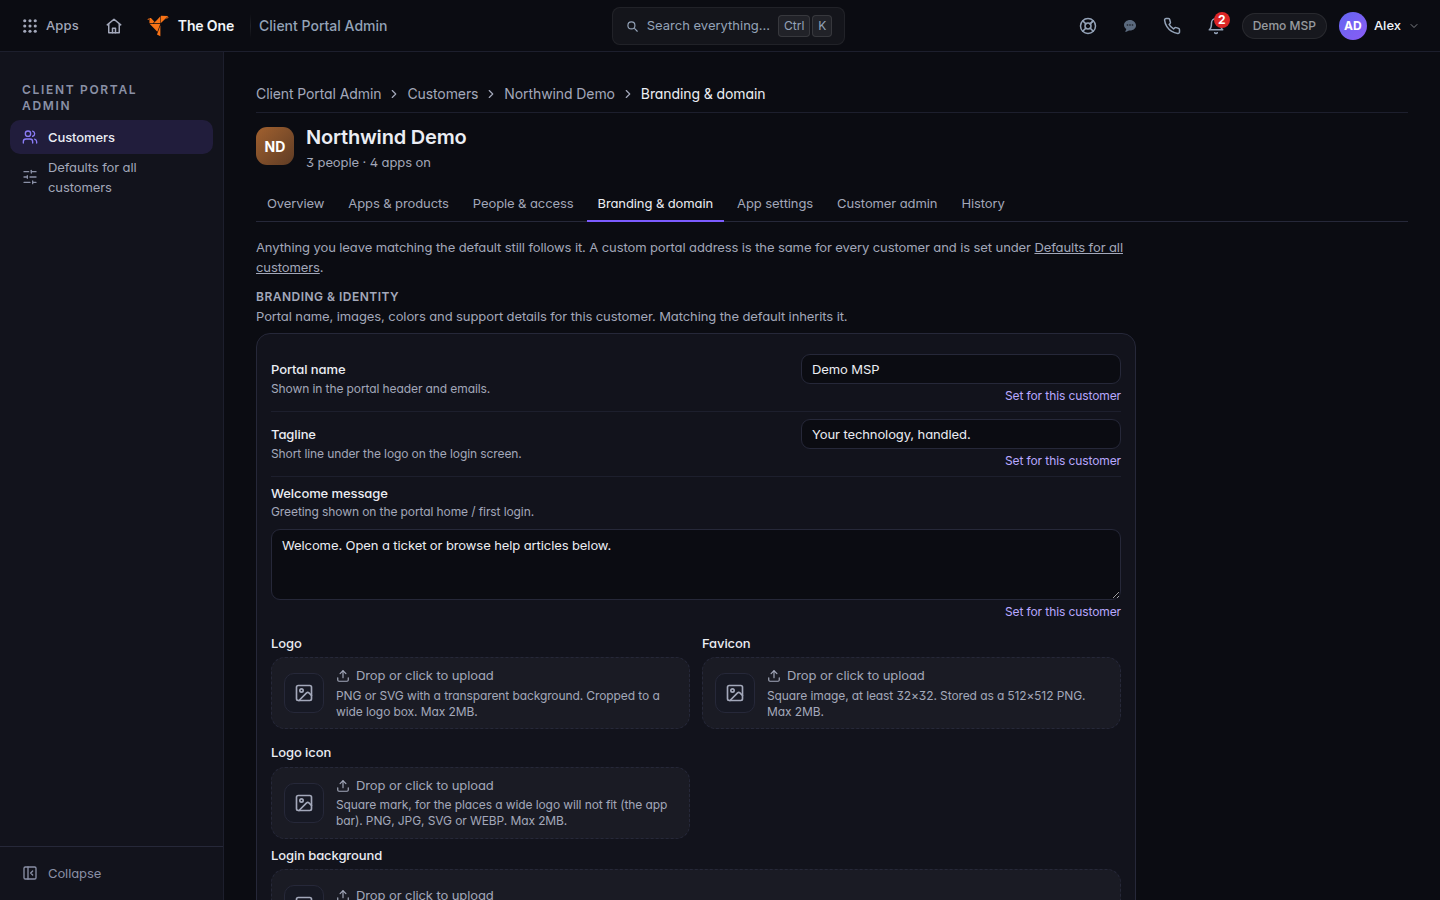
Branding and Identity, with Portal name and Logo - Under Branding & Identity, set Portal name, Tagline, Welcome message, Logo, Favicon, Logo icon, and Login background.
- Set Primary color and Accent color. Pick a color is the color control. A contrast note is advice. It does not block Save.
- Set Support email and Support phone. Contact support on the sign-in page uses the support email. Set Footer text if you want a line under the form.
- Set Terms of Service URL and Privacy Policy URL only when you have your own pages. Leave them empty to hide those links. The portal does not substitute those platform pages.
- When the bar says Unsaved changes, choose Save. Discard puts the fields back. After a save the bar says Saved.
Hide “Powered by” footer badge is on the same section when you want that badge hidden.
If it goes wrong#
- The bar never appears. Nothing changed, so there is nothing to save.
- Save failed. The page keeps your edits. Read the error and save again.
- Clients still see IT Support as the name. Branding had not loaded, or Portal name is empty. Refresh after Saved.
- You are a manager. You can open the customer and you cannot edit branding. Ask an owner or admin.
What's next#
Was this article helpful?