Workspace 8 of 36

Add a Workspace user

Create a person, a mailbox, and a seat, and send the sign-in invitation.

Applies to Owner Admin

For MSP staff and admins. Add user creates the person, a mailbox, and a seat together. You need a verified domain first.

Help desk can change people. Mail admin can see people and cannot add them. Read only cannot add them.

Add the person#

  1. Open Workspace Admin, then Users & licenses.
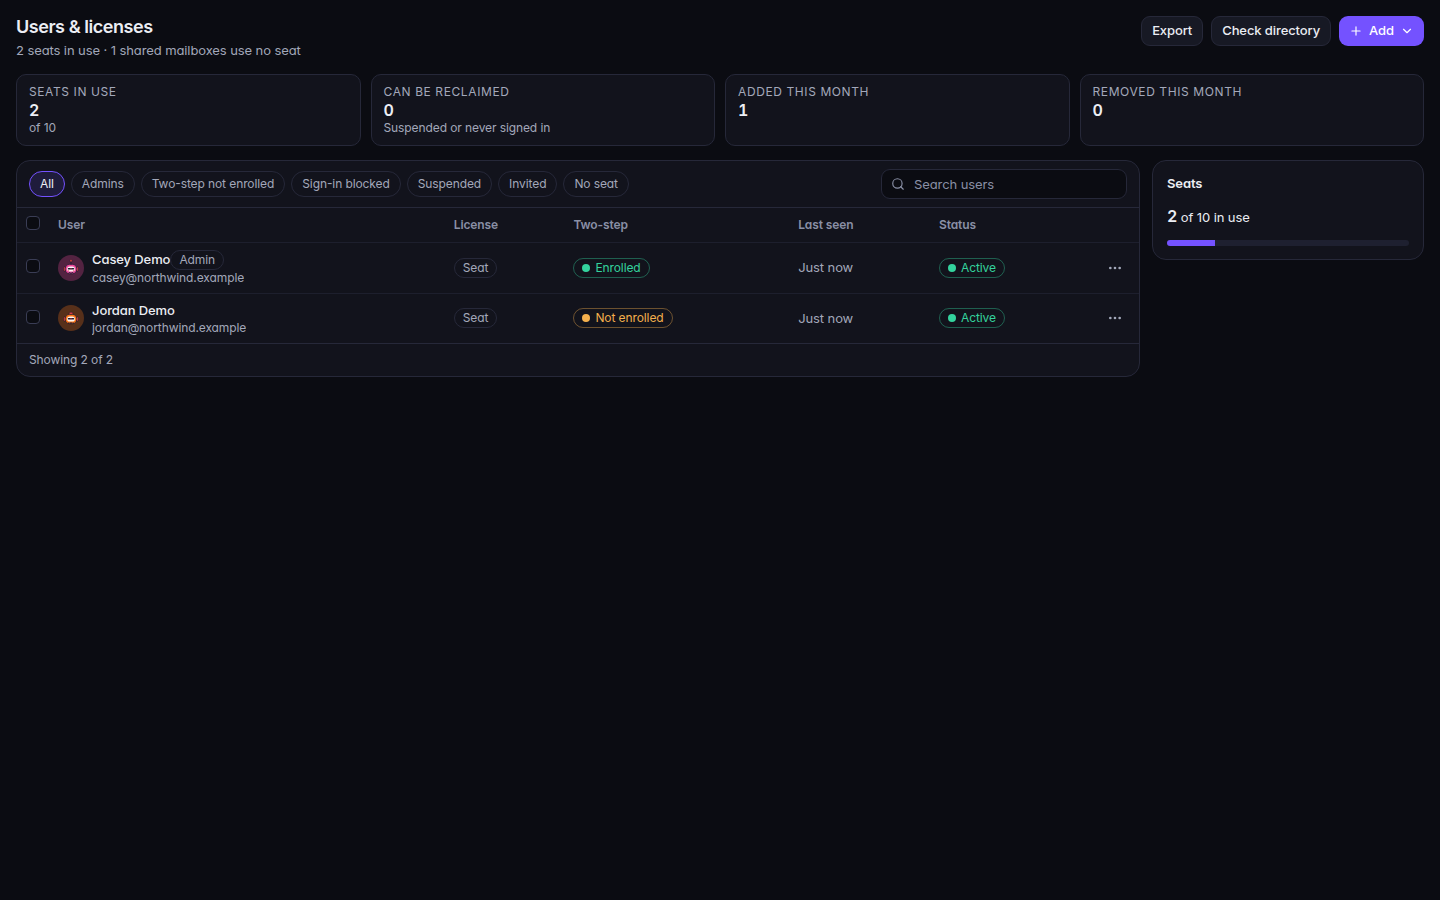
    Users and licenses, with Add
    Users and licenses, with Add
    Users and licenses, with Add.
  2. Choose Add, then Add user.
  3. Enter Full name and Email address, and pick Domain.
  4. Leave Send an invitation to set up sign-in checked when they should set up their own sign-in.
  5. Choose Add user. The page says User added.

Check directory lists people in the company directory who do not have a seat yet. Give a seat only when your role can change seats. If it cannot, the page says Your role cannot change seats.

Filters on the list include All, Admins, Two-step not enrolled, Sign-in blocked, Suspended, Invited, and No seat.

From the same Add menu, Add shared mailbox opens the shared mailbox form. See Add a shared mailbox.

If it goes wrong#

  • Enter a name. Full name is empty.
  • Use letters, numbers, dots, dashes and underscores before the @. The mailbox name has a character that is not allowed.
  • No verified domain yet. Add and verify one under Domains first. There is no domain to attach the address to.
  • No users yet. The empty list says Add your first user to give them a mailbox.